Mini Militia for PC 2026: Complete BlueStacks Install Guide
Play Mini Militia on a bigger screen with proper keyboard and mouse controls. Here’s exactly how to get it running smoothly on your PC using BlueStacks.
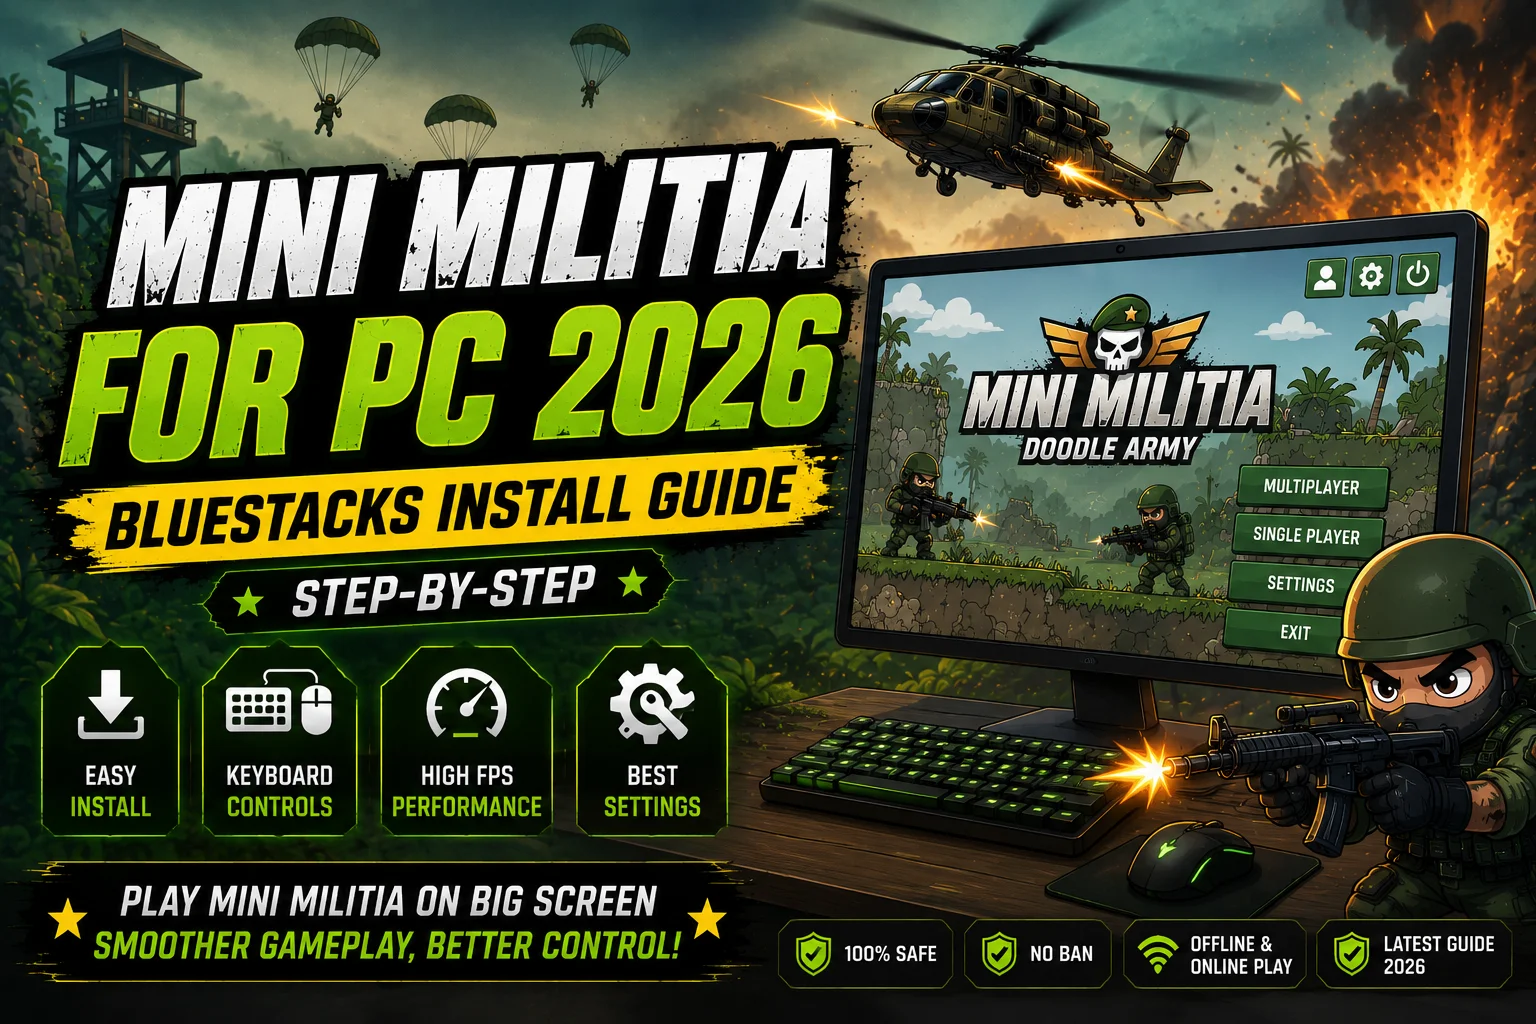
Mini Militia was built for touchscreens, but a huge number of players actually prefer running it on PC — bigger screen, sharper aim with a mouse, and no worrying about your phone overheating mid-match. The most reliable way to do that is through BlueStacks, an Android emulator that lets your PC run mobile apps and games as if they were native software. This guide walks through the full setup, from installing the emulator to configuring controls that actually feel good to play with.
Minimum PC Requirements
| Component | Minimum | Recommended |
|---|---|---|
| Operating System | Windows 7 or higher | Windows 10/11 (64-bit) |
| RAM | 4 GB | 8 GB or more |
| Storage | 5 GB free space | 10 GB+ free (SSD preferred) |
| Graphics | DirectX 9 compatible | Dedicated GPU for smoother frame rates |
| Processor | Dual-core | Quad-core or better |
| Virtualization | Enabled in BIOS | Enabled in BIOS (required for best performance) |
Step-by-Step BlueStacks Installation
Download BlueStacks
Go to the official BlueStacks website and download the latest version for Windows or Mac. Avoid third-party download mirrors, since official sources are the safest way to get the installer.
Run the installer
Open the downloaded file and follow the setup prompts. Choose your installation drive — an SSD with enough free space will give noticeably better load times.
Enable virtualization if prompted
If BlueStacks asks you to enable virtualization technology, you’ll need to turn it on in your PC’s BIOS settings. This step significantly improves emulator performance.
Sign in with a Google account
Once BlueStacks launches, sign in with a Google account just like you would on an Android phone. This gives you access to the Play Store inside the emulator.
Search for Mini Militia in the Play Store
Open the Play Store app within BlueStacks, search for the game, and click install. It will download and install just like it would on a phone.
Launch the game and set up controls
Once installed, open Mini Militia from the BlueStacks home screen. The emulator’s default keymapping tool will let you assign keyboard and mouse controls before your first match.
Setting Up Keyboard & Mouse Controls
Use the Built-In Keymapping Tool
BlueStacks includes a control editor that lets you assign movement, jump, jetpack, and fire actions to specific keys. Take a few minutes to set this up before jumping into a real match.
Map Aim to Mouse Movement
Setting aim to follow your mouse instead of a fixed key gives far more precise control than touchscreen aiming ever could, especially for sniper and laser gun play.
Keep Jetpack on an Easy-to-Reach Key
Since jetpack control matters so much for movement, bind it to a key you can hit quickly and repeatedly, like spacebar, rather than a hard-to-reach corner of the keyboard.
Save Your Control Layout as a Preset
Once you find a layout that feels comfortable, save it as a preset in BlueStacks so you don’t have to rebuild it every time you update or reinstall the emulator.
Improving Performance on PC
If the game feels laggy inside BlueStacks, a few settings usually fix it. Increasing the RAM and CPU cores allocated to BlueStacks in its engine settings gives the emulator more resources to work with. Lowering the in-game graphics settings, particularly if your PC doesn’t have a dedicated GPU, reduces strain considerably. And closing other heavy programs running in the background while you play frees up resources that would otherwise compete with the emulator.
Common Installation Problems and Fixes
A few issues come up repeatedly during setup. If BlueStacks won’t launch after installation, it’s almost always a virtualization setting that needs to be enabled in the BIOS — check your motherboard manufacturer’s instructions for how to access this. If the Play Store won’t load inside BlueStacks, signing out and back into your Google account usually resolves it. And if the game runs but feels choppy, check that hardware acceleration is enabled in BlueStacks’ settings, since running purely on software rendering is significantly slower.
Frequently Asked Questions
Is BlueStacks free to use?
Yes, BlueStacks has a free version that’s enough to run Mini Militia. It also offers optional paid tiers with extra performance features, but they aren’t required for normal play.
Can I play multiplayer matches between PC and mobile players?
Yes, since BlueStacks runs the actual Android version of the game, PC players can join the same online or LAN matches as mobile players without any compatibility issues.
Why is BlueStacks running slowly on my PC?
This is usually caused by insufficient RAM allocation, virtualization being disabled in the BIOS, or too many background programs competing for resources. Adjusting the engine settings in BlueStacks often helps.
Do I need a Google account to use BlueStacks?
Yes, signing in with a Google account is required to access the Play Store inside BlueStacks and download Mini Militia, just like setting up a new Android device.
Are there alternatives to BlueStacks for playing on PC?
Yes, other Android emulators exist and can run the game similarly, but BlueStacks is widely used because of its stability, active support, and built-in keymapping tools.
Will my progress carry over between phone and PC?
If your game progress is tied to the same Google account or in-game login on both devices, your progress should stay in sync between phone and PC versions.
Final Thoughts
Once BlueStacks is set up properly, Mini Militia genuinely feels like a different game on PC — sharper aim, a bigger view of the map, and none of the thumb cramps that come with long touchscreen sessions. The setup takes a bit of patience the first time, especially around BIOS virtualization settings, but it’s a one-time process. After that, you’re just a click away from jumping into a match with a proper mouse-driven aim.
Ready to sharpen your aim on PC?
Check out our Tips & Tricks Guide to bring pro-level strategy to your new setup.
Read the Tips & Tricks Guide